- Illustrator & Costume Maker -


Philip Dunbar, Food & Cosplay
Sudawan Corness
Sudawan Corness
July 2017
4 Months
Manchester MCM Expo 2017

Thoughts:
Although a comfortable costume to wear, the heels did eventually cause me discomfit. However, I'd fortunately brought along a pair of white fluffy sliders which both saved my feet and complimented the costume.
Slowking
( Pokemon )
Reason for making this costume:
Slowpoke is my favourite Pokemon, although Slowking has more to work with in terms of designing a recognisable costume. I wanted a simple and easy costume to design and make, which would allow me to enjoy a convention without discomfort.
How I made the costume:
The Dress -
I modified a cheap dress that I'd bought secondhand. White lace was appliquéd to the bottom for a special touch. The felt sash was made using spare cream felt, with embroidered detail along the front and tied at the back, this was the represent Slowkings stomach.
The Wrist cuffs -
The cuffs are made from pink and white poly cotton. pink poly cotton reinforced with interfacing and velcro to fasten. The ruffles were cut, the hem sewn, gathered and sewn onto the underside of the cuffs.
The Shoes -
The shoes were bought online, shoes with pointed tips were preferred to represent Slowkings pointy feet. However, I purchased a pair of white sliders as a back up.
The Collar -
A paper template was first drawn up and cut out into individual pieces. White and Red velvet was the material chosen due to its lustrous appearance. The pieces were reinforced with interfacing on the underside, sew together one by one and velcro was added at the back as a fastener.
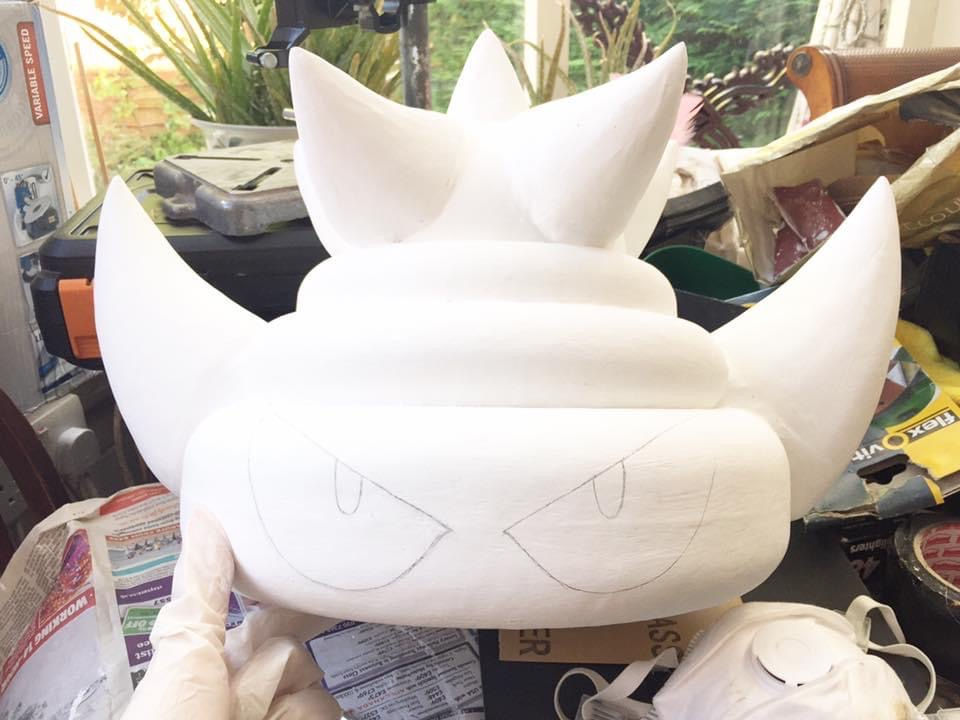
The Hat -
The hat was divided into segments, and tackled one by one. Each segment was carved from Styrofoam using a sander and sand paper. Once happy with each individual piece, everything was glued together with "No more Nails", as this was the only adhesive at hand that didn't melt the styrofoam. Once dried, the whole hat was covered with a layer of Paper-mâché, sanded, covered with a layer of white Gesso primer, and finally painted with acrylic paint (nail polish for the gem). Finer details (like the eyes at the back) were later outlined and coloured in with a black felt tip pen.
More Detail...
 |  |  |
|---|---|---|
 |  |
- Work in Progress -
Costume


- Work in Progress -
Prop